


FREE delivery on orders over £100
(excl VAT) *UK Mainland / Restrictions apply
Menu
Search
Account
Basket
0FREE delivery on orders over £100
(excl VAT) *UK Mainland / Restrictions apply
Free Delivery*

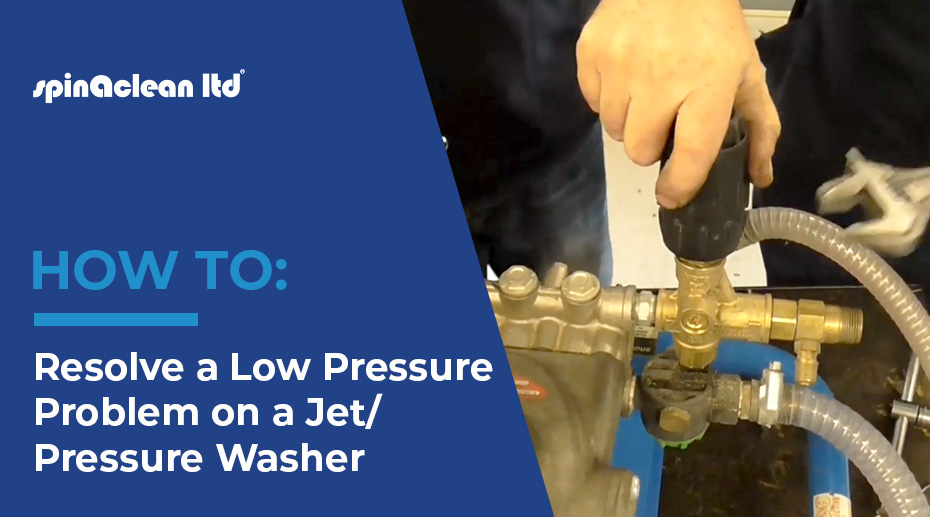
The intense workload your pressure washer goes through can take its toll. If you’ve noticed your pressure washer is suffering from a loss of pressure, there are a few checks that you can easily carry out.
Initial Checks
First, go through basic checks with the suction hose to ensure no blockages or leaks. The next step is checking the unloader if basic checks don’t fix the issue.
To do this, connect the machine as usual with a suction hose and a high-pressure hose. Run the machine with the trigger open to get the water going through.
You should have full working pressure with nothing coming out of the bypass pipe, and when you close the trigger, you should have full pressure coming out of the bypass pipe.
However, if everything still comes out of the bypass pipe when pulling the trigger, then there is a problem with the unloader valve inside the unloader.
When closing the trigger, if nothing comes out of the bypass pipe and the trigger loads the engine, it’s related to the shuttle on the unloader.
How to check the Unloader Valve
To access the unloader valve, follow the steps below:
• Remove the plastic cap of the unloader. You will find a 13mm Knut underneath that needs to be unscrewed and removed.
• Then, unscrew the adjuster knob. Once removed, you will see a tension spring with a washer. Remove both of these.
• Use an adjustable spanner to undo the valve, which will lift out.
Check for any damage to the valve, including:
• Pitting/Grooving
• Worn down stem
• Stem flattened on the tip instead of rounded
• Missing O-Rings
The pump might cavitate badly and wear down the valve if a mains valve has fed the pressure washer or if the suction filter or trap is blocked.
Furthermore, small leaks in the high-pressure hose will cause the unloader to bounce when the trigger is closed. If unprevented, it will flatten the bottom of the valve on the tip instead of the rounded.
How to Remove the Unloader
Take the following steps to remove the unloader:
• Take off the suction and bypass pipes
• If you haven’t already removed it for inspection, remove the unloader valve
• Remove the bottom of the green filter before removing the green filter completely
• Use an adjustable spanner to loosen the unloader, then completely unscrew and remove
• Once you’ve removed the unloader, you have to remove the bypass elbow from it
• Now that the unloader is completely removed and stripped, you are ready to fit the new one.
How to check the shuttle on the unloader:
If you have investigated the stem in the unloader and it appears to be undamaged, the second thing to check is the front shuttle.
• Unscrew the chemical inject in the first hexagon, and inside you will find a spring-loaded plunger. Be careful you don’t drop the spring or the plunger on the floor when you take it apart.
• The plunger needs to be free moving and spring-loaded, and the O-ring on top needs to be in one piece.
• If it’s stuck, pull it out and remove the spring. Check inside for any scoring and dirt, as being jammed by dirt will prevent it from loading, making it load and stall the engine.
• Use a bit of wire wool to clean the plunger before replacing the spring and the plunger.
Replacing the Unloader
Before fitting a new unloader, there are a few steps that need to carry out:
• As the unloader can be adjusted and used in many configurations, the two blanking plugs are loose. Unscrew and make sure there is a copper washer at the bottom to seal them. Screw them back in firmly with an Allen key
• It is advisable to remove the adjuster knob and tension spring to allow yourself more room when screwing the unloader on
• Apply a tough sealant before screwing the unloader back on. PTFE tape is a good option, but you can also use a lock-tight substance option such as Nut Grade (please note that whatever you use must be removable).
Now you are ready to fit the new unloader:
• Screw the unloader onto a 45-degree angle
• The angle lets you screw the filter back in, applying a sealant to the filter threads. The filter is aluminium, so it’s important not to over-tighten it.
• It should sit horizontally with the green cap screwed in facing downwards and then locked in with an Allen key to preventing air leaks.
• You can now replace the tension spring and washer with the adjuster knob screwed on top.
• Top this with the 13mm Knut and plastic cap
• Screw the bypass elbow on to face forward, once again using sealant
• With the unloader entirely replaced, all that’s left to do is to refit the bypass hose and the suction hose.
If after following these checks, your pressure washer is still suffering from low pressure, you can arrange to have it fully serviced by our expert service technicians.